The article below was paid for by a portion of a generous micro-grant provided through the 2nd annual Soup Ste. Marie event. Thank you!
With temperatures soaring in Sault Ste. Marie, Saultites can almost certainly say goodbye to winter. Due to a western chinook, which brought warmer seasonal temperatures and below average snowfall, the winter of 2015-16 recorded a green Christmas, little ice coverage, and poor conditions at ski resorts. In reality, the snow pack in the Northern Ontario city has been gone for over a month, a dramatic change from the previous three winters.
In more remote areas of Northern Ontario, however, including Lake Superior Provincial Park and Wawa, Ontario, cooler temperatures, moderated by Lake Superior and greater snowfall have kept the region frozen. These areas are only just beginning to thaw. Tributaries, which dump into mighty Superior, have been blocked with ice until recently, preventing the spring melt – known as freshet – to begin.
Any day now, the Agawa River, Pinguisibi River (more commonly known as Sand River), Baldhead River, and Old Woman River will begin to rise and rage, allowing their crisp waters to join into the frigid depths of Superior. As of April 11, 2016, 62.5 cm (24.6 inches) of snow still surrounded the reporting station headquarters at Red Rock in Lake Superior Provincial Park. While this number is down from both years 2015 and 2014, where snow pack conditions hovered around an impressive 102.8 cm and 124.4 cm respectively, plenty of snow remains to be melted and travel to neighbouring rivers to create wild, white-water rapids and crests.
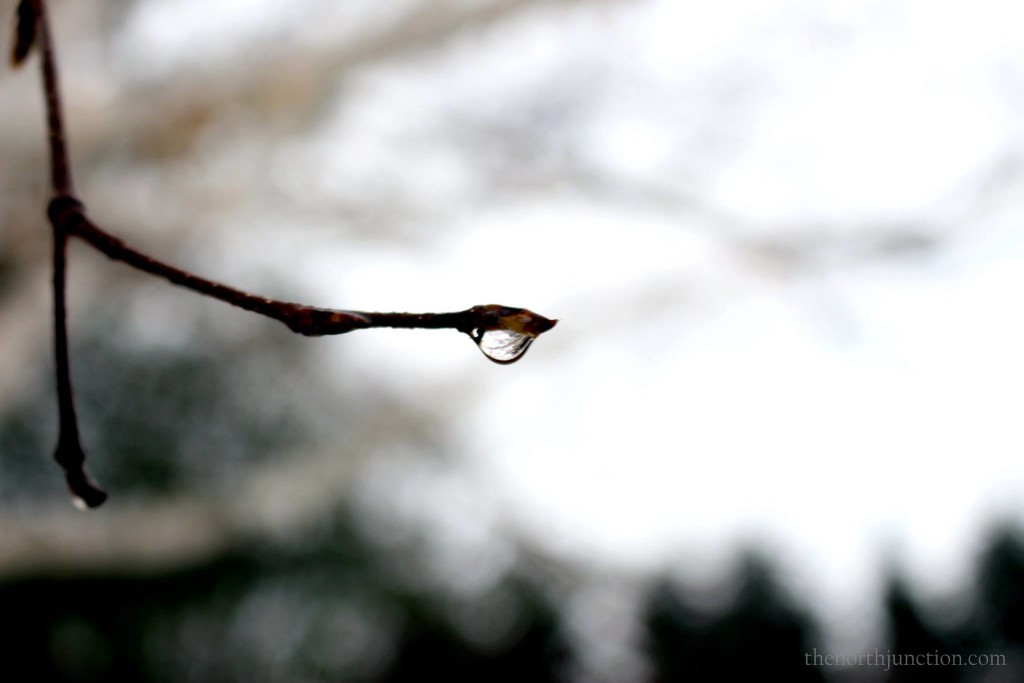
For nature and landscape photographers, the annual spring melt is the optimal time for picturesque scenery scape photos. From capturing the rushing of aqua, the shattering of ice or travelling of icebergs, to freezing the moment a droplet of water spills off an icicle or tree branch, to the crashing of thunderous waves, water can be one of the most awe-inspiring stills in photography.
But just how do you snap those perfect water photographs? For beginners shooting with a DSLR (digital single lens reflex) camera, setting up your equipment can be quite intimidating. With so many buttons, where does one begin?
Well, first of all, start by turning on your camera and removing the lens cap. Second, set your camera to “M” for Manual mode. Manual mode will allow you, the photographer, to control all of the settings and physically adjust the depth or aperture, ISO, exposure, and shutter speed of your camera to capture the movement of the water. You will also need a sturdy tripod. A polarizing lens and hand-held timer are also recommended but not required. Most often you will use a wide angle lens, but a parfocal (zoom) lens can also be used for water photography depending upon your desired shot.
Generally speaking, there are two options for shooting water. You can freeze the movement of water or make it appear soft and wispy – like milky water.
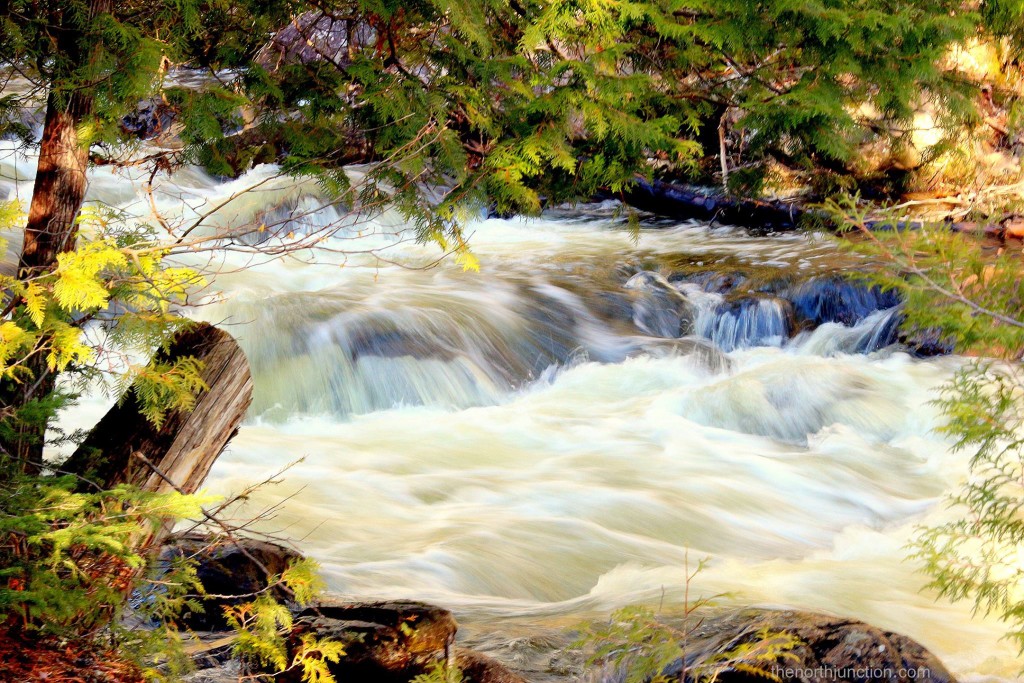
Crystal Falls last night in late spring Freshet with slow shutterspeed. Photo credit: Meaghan Kent, The North Junction
For wispy and soft water, simply slow down the shutter speed on your camera and set your aperture to a higher F-stop. Most often, a shutter speed longer than one second will begin to blur the movement of water. However, if there is plenty of water moving, like during freshet, a faster shutter speed, around an eighth of a second may be suffice. But remember, there is no perfect setting on your camera to blur water. What might work for one river may not work for another. And the same goes for each camera. Always take into consideration the amount of blur desired, the volume of the water, the speed the water is travelling, the direction of flow, and the distance from your camera to the water.
An aperture of 16 or smaller will be ideal to ensure that the objects in both the foreground and background are sharp and in focus. Your ISO should also be at its lowest, around a base 100 reading to avoid allowing any extra sunlight into your photo since long shutters allow for plenty of light into your lens.
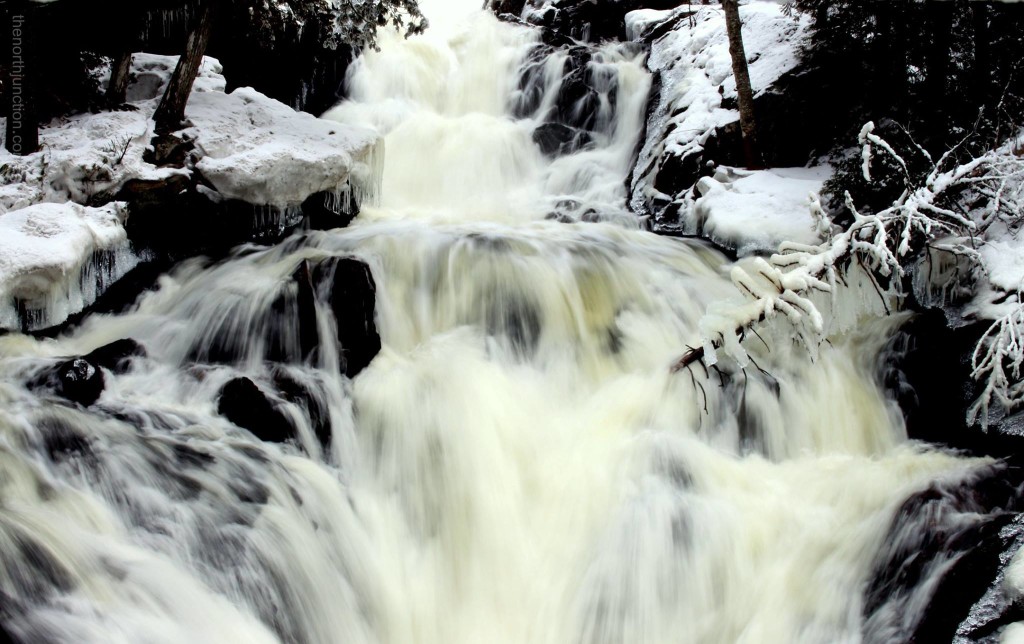
Crystal Falls in early March freshet – slow shutterspeed. Photo credit: Meaghan Kent, The North Junction
Once your camera is level on a tripod, you can take your shot. In order to get that perfect wisp of the water, you will need to use a stabilizer or tripod since you will not be able to hold your camera perfectly still for more than a second while the picture is being exposed. A tripod will avoid any shake and ensure that only the water is blurred. Movement of foliage around the waterfall or river may also occur in the photo – if this happens, simply quicken your shutter speed or edit out the movement in Photoshop by layering the blurred motion photo with another photo taken in the exact same location with a faster shutter speed, freezing the foliage in place.
Due to the reflective nature of water as well as the long shutter speed, you may end up with a completely blown out photo, meaning the picture, when displayed on your screen, is white. A polarizing filter will take away some of the reflection from the water and enable you to expose for longer shutter speeds. But, it still doesn’t take away all of the light. It is best to take long exposure photos at dawn or at dusk to avoid allowing any extra harsh light into your photo. A hood on your camera can also help prevent extra light from getting in. Lowering the exposure on your camera can also eliminate any blown out sections on your image.
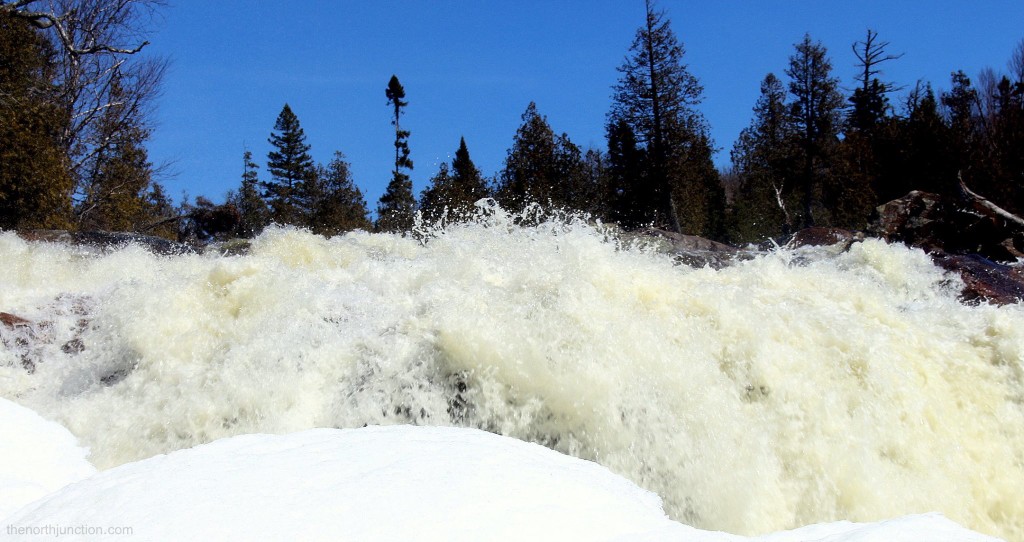
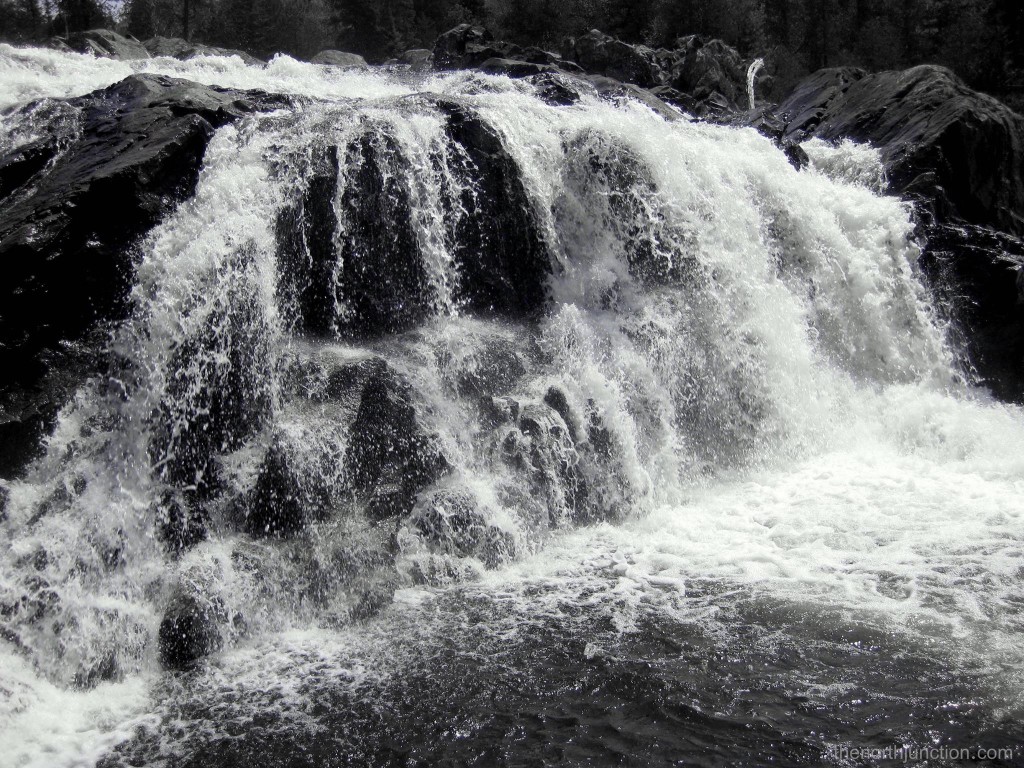
Pinguisibi River during freshet this year – fast shutterspeed. Photo credit: Meaghan Kent, The North Junction
Freezing the movement of water is much easier. Simply quicken the shutter speed on your camera to roughly a 30th of a second or faster. The faster the speed, the more water droplets will appear in your image and the sharper the water. Depending upon the depth of field you want in your photo, your aperture will need to be adjusted accordingly. Faster shutter speeds are ideal for a crisp shot of water, capturing reflections cast on the aqua, or snapping a water droplet or waves crashing ashore.
While the annual spring freshet affords for optimal photos, there are risks involved. Always remember, when heading out to get your picture-perfect photo, to take caution when hiking around a waterfall and/or river and stay far back from banks that may have become unstable during the spring thaw and the moving of snow, ice, and increased flows. Do not go into the river as flows are high. Currents are strong and waters are extremely cold and can cause hypothermia in a matter of minutes. During freshet, it’s always best for you and your camera to stay dry.
Happy shooting!


2 Comments
Just beautiful!
Great article Meaghan – thanks for the good photo tips